(详解)IDEA中使用git教程
Hi,大家好,我是编程小6,很荣幸遇见你,我把这些年在开发过程中遇到的问题或想法写出来,今天说一说(详解)IDEA中使用git教程,希望能够帮助你!!!。
前言
最近学习了一下VCS(Version Control System),这里我选择的是Git而不是SVN,因为Git在本地磁盘上就保留着所有当前项目的历史更新,所以处理起来速度飞快,这是使用空间换时间的处理方式。使用Git,即使在没有网络或VPN的情况下,你同样可以非常愉快的频繁提交更新到本地仓库,等到有了网络的时候再提交到远程的仓库(百度百科)。
1.IDEA 安装Git
- IDEA虽然集成了git,但是并没有自带git.exe,所以需要自己下载。
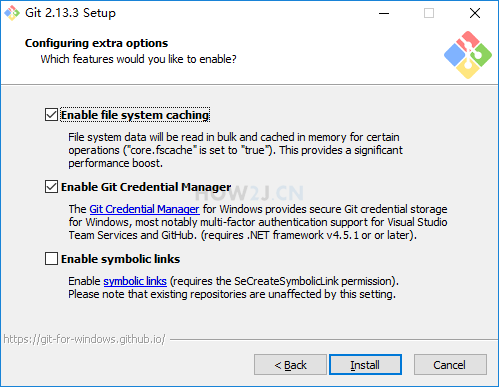
git.exe 分32和64位,可以在git官网下载:https://git-scm.com/download/win - 开始安装
通常选用默认的第二个,这样在dos命令下可以方便使用git.exe 命令
- 运行测试
安装成功后,使用快捷键win+r, cmd, 打开控制台,然后输入git命令,看到如图所示的画面即表示安装成功了
2.IDEA下配置git
- 为IDEA指定git路径
默认情况下,IDEA是不自带git运行程序的,所以需要通过
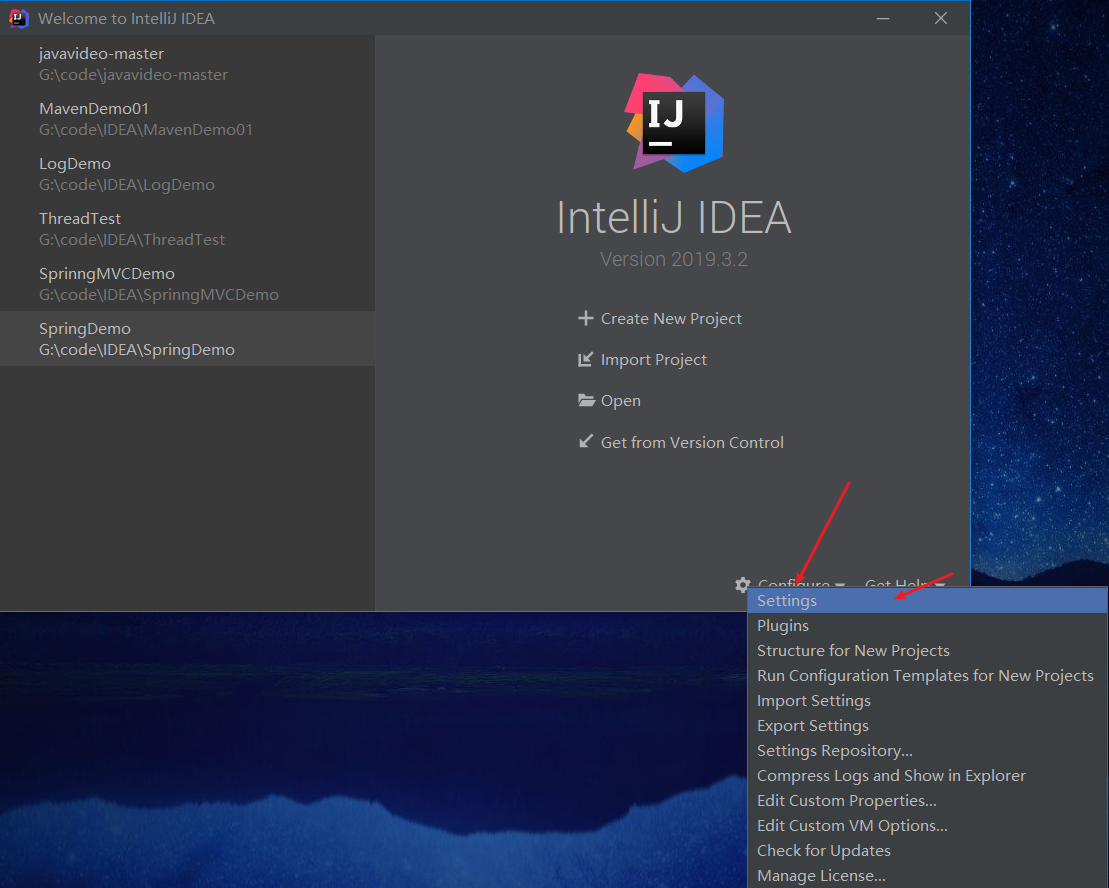
菜单->settings->Version Control->Git->Path to Git executable: 设置为安装git中所安装的git.exe
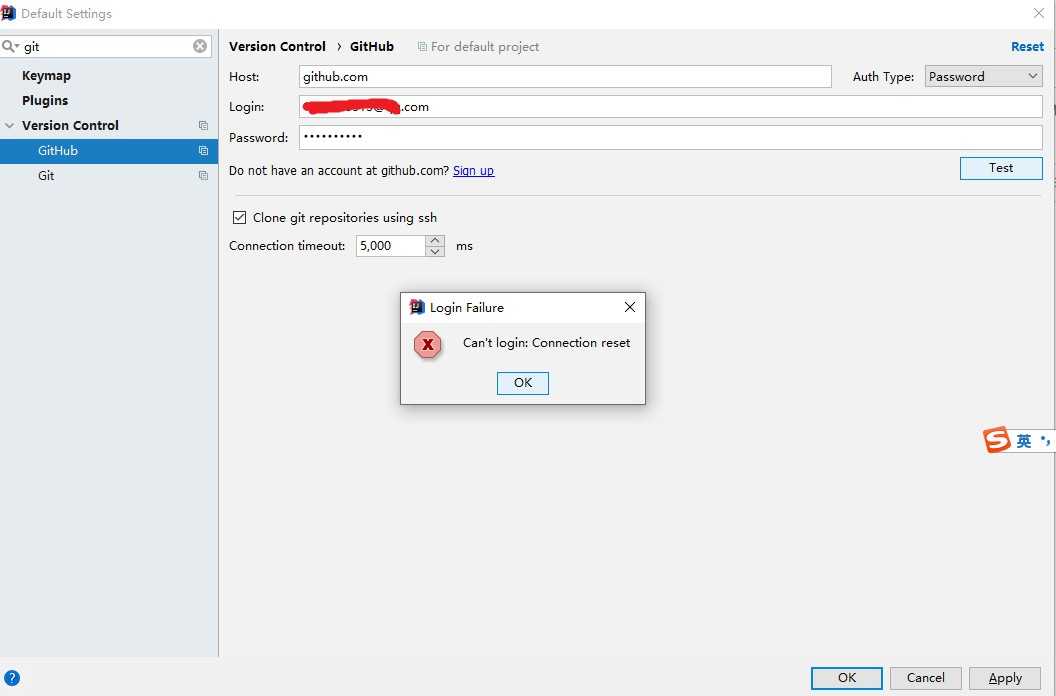
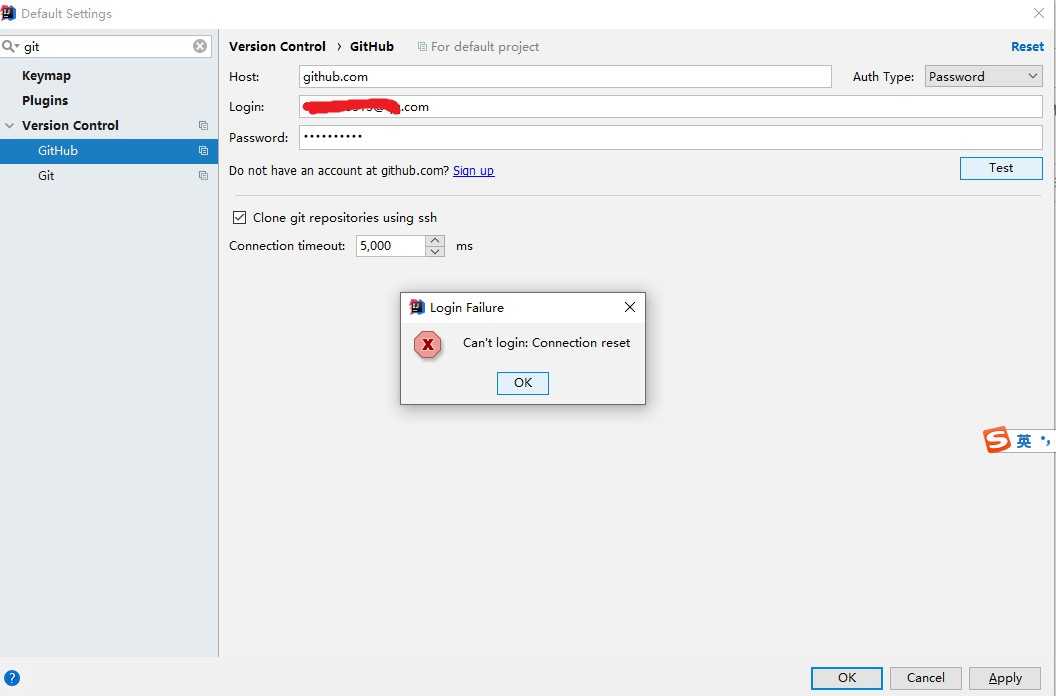
- 设置github账号
接下来为github设置账号密码:
菜单->settings->Version Control->GitHub->Add account
设置好了之后,IDEA的git准备工作就做好了
3.用IDEA从github上pull一个现成的项目到本地,并使用
- checkout
菜单->VCS->Chekout from Version Control->Github(或者Git)
- 输入项目参数
输入URL,点击test即可
这里的URL就是GitHub上的项目git地址
Git Repositor URL:https://github.com/how2j/higit.git
Parent Directory: e:\project
Directory Name: higit
然后点击 Clone
- 如此就拿到了Git上的项目 higit,里面有一个HiGit类,运行即可看到 “HiGit”
4.IDEA 创建的本地项目push到GitHub上
- 首先在github创建一个仓库
登陆 github.com
然后点击右上角账号左边的加号,点击New repository创建仓库。
Git上仓库就相当于项目的意思
这里输入仓库名称hiworld
- 创建成功,得到git地址
https://github.com/how2j/hiworld
- 本地创建一个项目
接着在本地创建一个项目hiworld,并且新建一个Java类
public class HiWorld {
    public static void main(String args[]){
        System.out.println("Hi World");
    }
}
- 创建本地仓库
菜单->VCS->import into Version Control->Create Git Repository->e:\project\hiworld-OK
- 把项目加入到本地仓库的stage区暂存
右键项目->Git->Add
- 将暂存的项目提交到本地仓库然后提交到远程仓库(IDEA里将这两步骤简化为一步 即Commit and Push)
右键项目->Git->Commit Directory之后弹出如图所示的窗口,在Commit Message 输入 test, 然后点击 Commit And Push
- 这里会询问你要提交的哪里去,点击Define remote,并输入在" 创建成功,得到git地址 "步骤中的:
https://github.com/how2j/hiworld
-查看github
再次刷新github地址:
https://github.com/how2j/hiworld
就可以看到都push上去了
5.IDEA里代码提交和项目更新
- 把HiWorld随便改改,只要和以前不一样就行
- 使用快捷键CTRL+K,就会弹出提交的界面,点击Commit and Push即可
- 点击快捷键Ctrl+T,就会弹出更新的界面,点击OK即可
参考链接:http://how2j.cn/k/idea/idea-git-install/1359.html
后记
不知不觉步入大学已有两年,想起两年前的今天,颇有些许感触,依稀记得高考完后,大多数人都在尽情的放肆疯狂,而我内心却有些许感伤,似是失去了方向,又似是在遥想着不确定的远方。希望两年后再回首现在的我时,仍会扬起嘴角的微笑。
前路漫漫,未来可期。
今天的分享到此就结束了,感谢您的阅读,如果确实帮到您,您可以动动手指转发给其他人。
下一篇
已是最新文章


