idea中怎么用git_idea如何配置git
大家好,我是编程小6,很高兴遇见你,有问题可以及时留言哦。
Git 有很多客户端工具,不过感觉还是命令行操作最好用,方便又快捷,不过命令行操作需要小伙伴们对 Git 命令比较熟练,这可能对有的人来说会有一些难度,所以,客户端工具有时候也不能抛弃,如果非要推荐一个 Git 客户端工具,我觉得还是 IDEA 中的 Git 插件吧。其他的 Git 客户端工具松哥之前也有体验过一些,不过感觉还是 IDEA 中的用起来更加省事。
今天这篇文章算是我第二次教大家在开发工具中使用 Git 了,刚毕业的时候,松哥写过一篇文章,教大家在 Eclipse 中使用 Git,那时候在 Eclipse 中使用 Git 是真的麻烦,光是插件就要安装半天,刚刚翻了一下那篇文章,已经是七年前的事情了。
七年之后,Eclipse 也没了往日的风光,IDEA 逐渐成了开发的主流工具,咱们今天就来捋一捋 IDEA 中使用 Git。
1. 基本配置
首先你要安装 Git,这个就不需要我多说了,IDEA 上默认也是安装了 Git 插件,可以直接使用。
为了给小伙伴们演示方便,我这里使用 GitHub 作为远程仓库,如果还有人不清楚 GitHub 和 Git 的区别,可以在公众号江南一点雨底部菜单栏查看 Git 教程,看完了就明白了。
从 2021.08.13 号开始,IDEA 上配置 GitHub 有一个小小的变化,即不能使用用户名密码的方式登录了,如果你尝试用用户名/密码的方式登录 GitHub 提交代码,会收到如下提示:
Support for password authentication was removed on August 13, 2021.
Please use a personal access token instead.
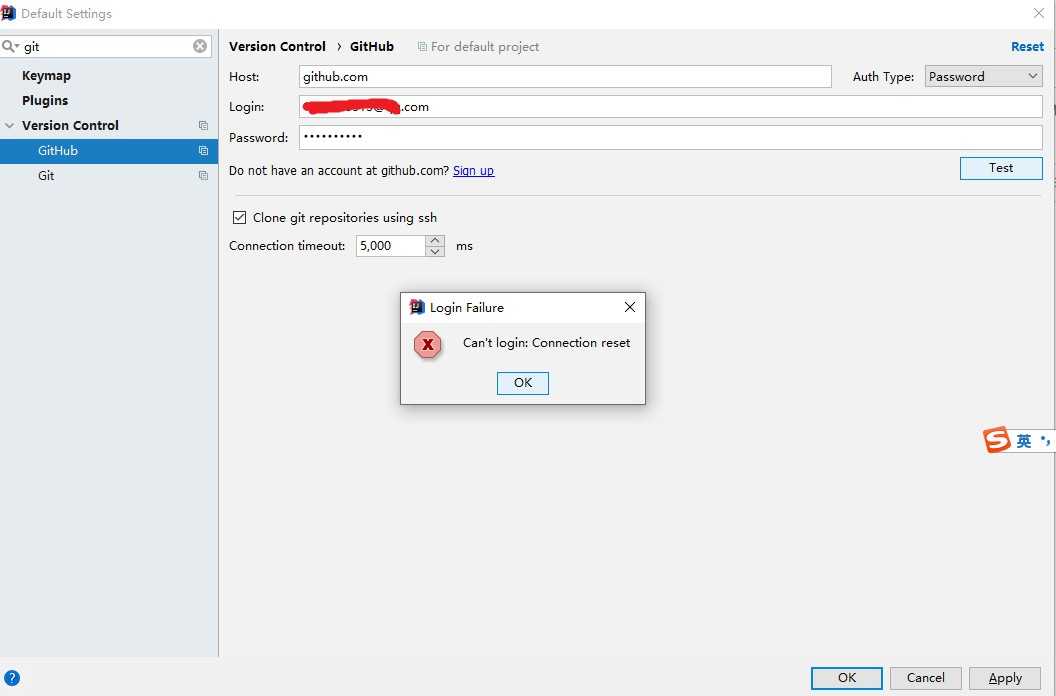
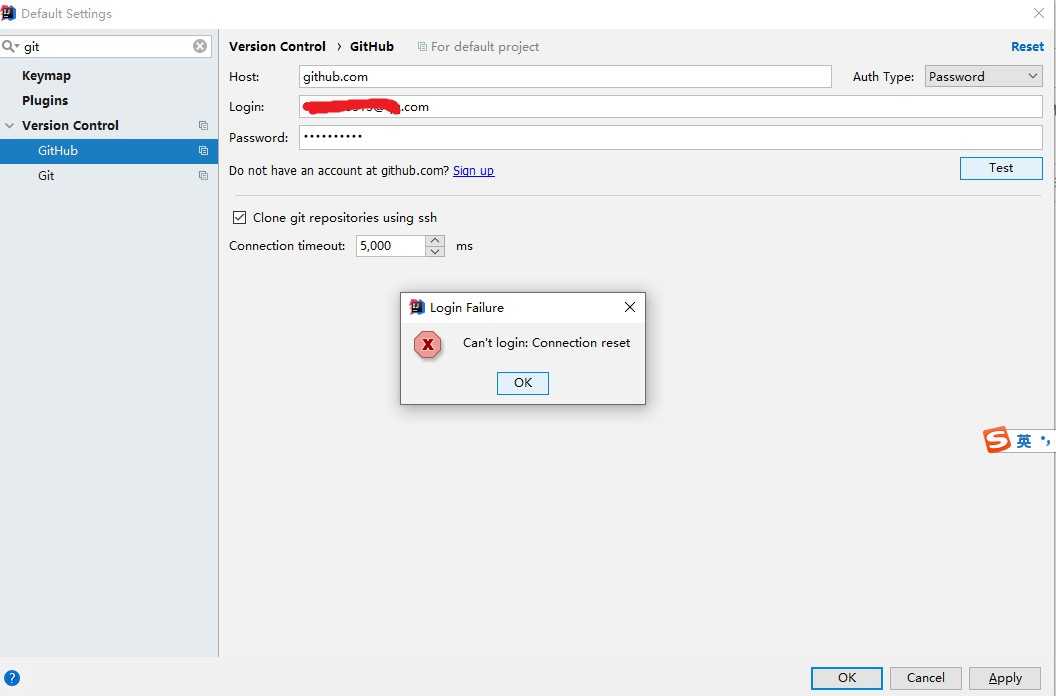
在 IDEA 上使用用户名/密码的方法登录 GitHub 也会报如下错误:
需要我们点击右上角的 Use Token,使用令牌的方式登录 GitHub,令牌的生成方式如下:
- 网页上登录你的 GitHub 账号。
- 点击右上角,选择 Settings:
- 拉到最下方,选择左边的 Developer settings:
- 选择左边的 Personal access tokens,然后点击右上角的 Generate new token:
- 填一下基本信息,选一下权限即可(权限需要选择 repo 和 gist,其他根据自己的需求选择):
- 最后会生成一个令牌,拷贝到 IDEA 中即可,如下:
这就是基本配置。
小伙伴们在公司做开发,一般是不会将 GitHub 作为远程仓库的,那么这块根据自己实际情况来配置就行了。
2. clone
头一天上班,首先上来要先 clone 项目下来,IDEA 中有对应的 clone 工具,我们直接使用即可:
这块也可以直接选择下面的 GitHub,然后直接从自己的 GitHub 仓库上拉取新代码。
clone 完成之后,IDEA 会提示是否打开该项目,选择 yes 即可。
代码 clone 下来之后,就可以根据松哥前文介绍的 Git Flow 开始开发了。
3. 分支
假设我们先创建 develop 和 release 分支,创建方式如下,选中当前工程,右键单击,然后依次选择 Git->Repository->Branches...:
或者依次点击顶部的 VCS->Git->Branches...:
当然两个方式都比较麻烦,直接点击 IDEA 的右下角最为省事,也是最常用的办法,如下图:
选择 New Branch,然后创建新的分支,勾选上 Checkout 表示分支创建成功后,切换到该分支上,如下:
选择一个分支,然后点击 Checkout,可以切换到该分支上:
接下来我们把 develop 分支提交到远程仓库,如下:
我们没有修改代码,所以直接点击 Push 按钮提交即可。
提交完成后,develop 后面多了 origin 前缀,Remote Branches 中也多了 develop 分支,说明提交成功。
现在假设我们想从 develop 上拉一个名为 feature-login 的分支,来完成登录功能,如下:
从创建的日志中,我们能看到 feature-login 确实是来自 develop:
好啦,接下来我们就可以愉快的开启一天的工作啦~
feature-login 上的功能开发完成后,首先点击 IDEA 的右上角完成本地仓库的提交,如下图:
填入提交的 Message,下方也能看到不同版本的内容对比,点击右下角完成代码提交,注意这个只是提交到本地仓库。
由于我们并不会将 feature-login 提交到远程仓库,所以接下来我们要将 feature-login 合并到 develop 然后将最新的 develop push 到远程仓库,操作方式如下:
- 切换回 develop 分支。
- 选择 feature-login->Merge into Current 进行合并。
合并完成后,如需删除 feature-login 分支,也可以在 IDEA 日志中顺手删除:
不过上面介绍的合并是快速合并,即让 develop 的指针指向了 feature-login,很多时候我们可能需要加上 --no-ff 参数来合并,那么步骤如下:
从 feature-login 切换回 develop 分支,然后如下:
此时我们看一眼提交日志,如下:
从这日志中也可以看出,此时不是快速合并模式了!
最后,选择 develop->Push,将代码提交到远程仓库。
4. pull
在 IDEA 中,如需从远程仓库中更新代码,点击右上角的按钮即可,如下图:
好啦,这就是一个大致的流程。
当然 Git 博大精深,IDEA 中支持的功能也非常多,其他功能就需要小伙伴们自己来摸索了,有不明白的欢迎留言讨论。

